On workstations and personal computers, the graphics card is an imperative component. It’s easy how to check graphic card in windows 10.
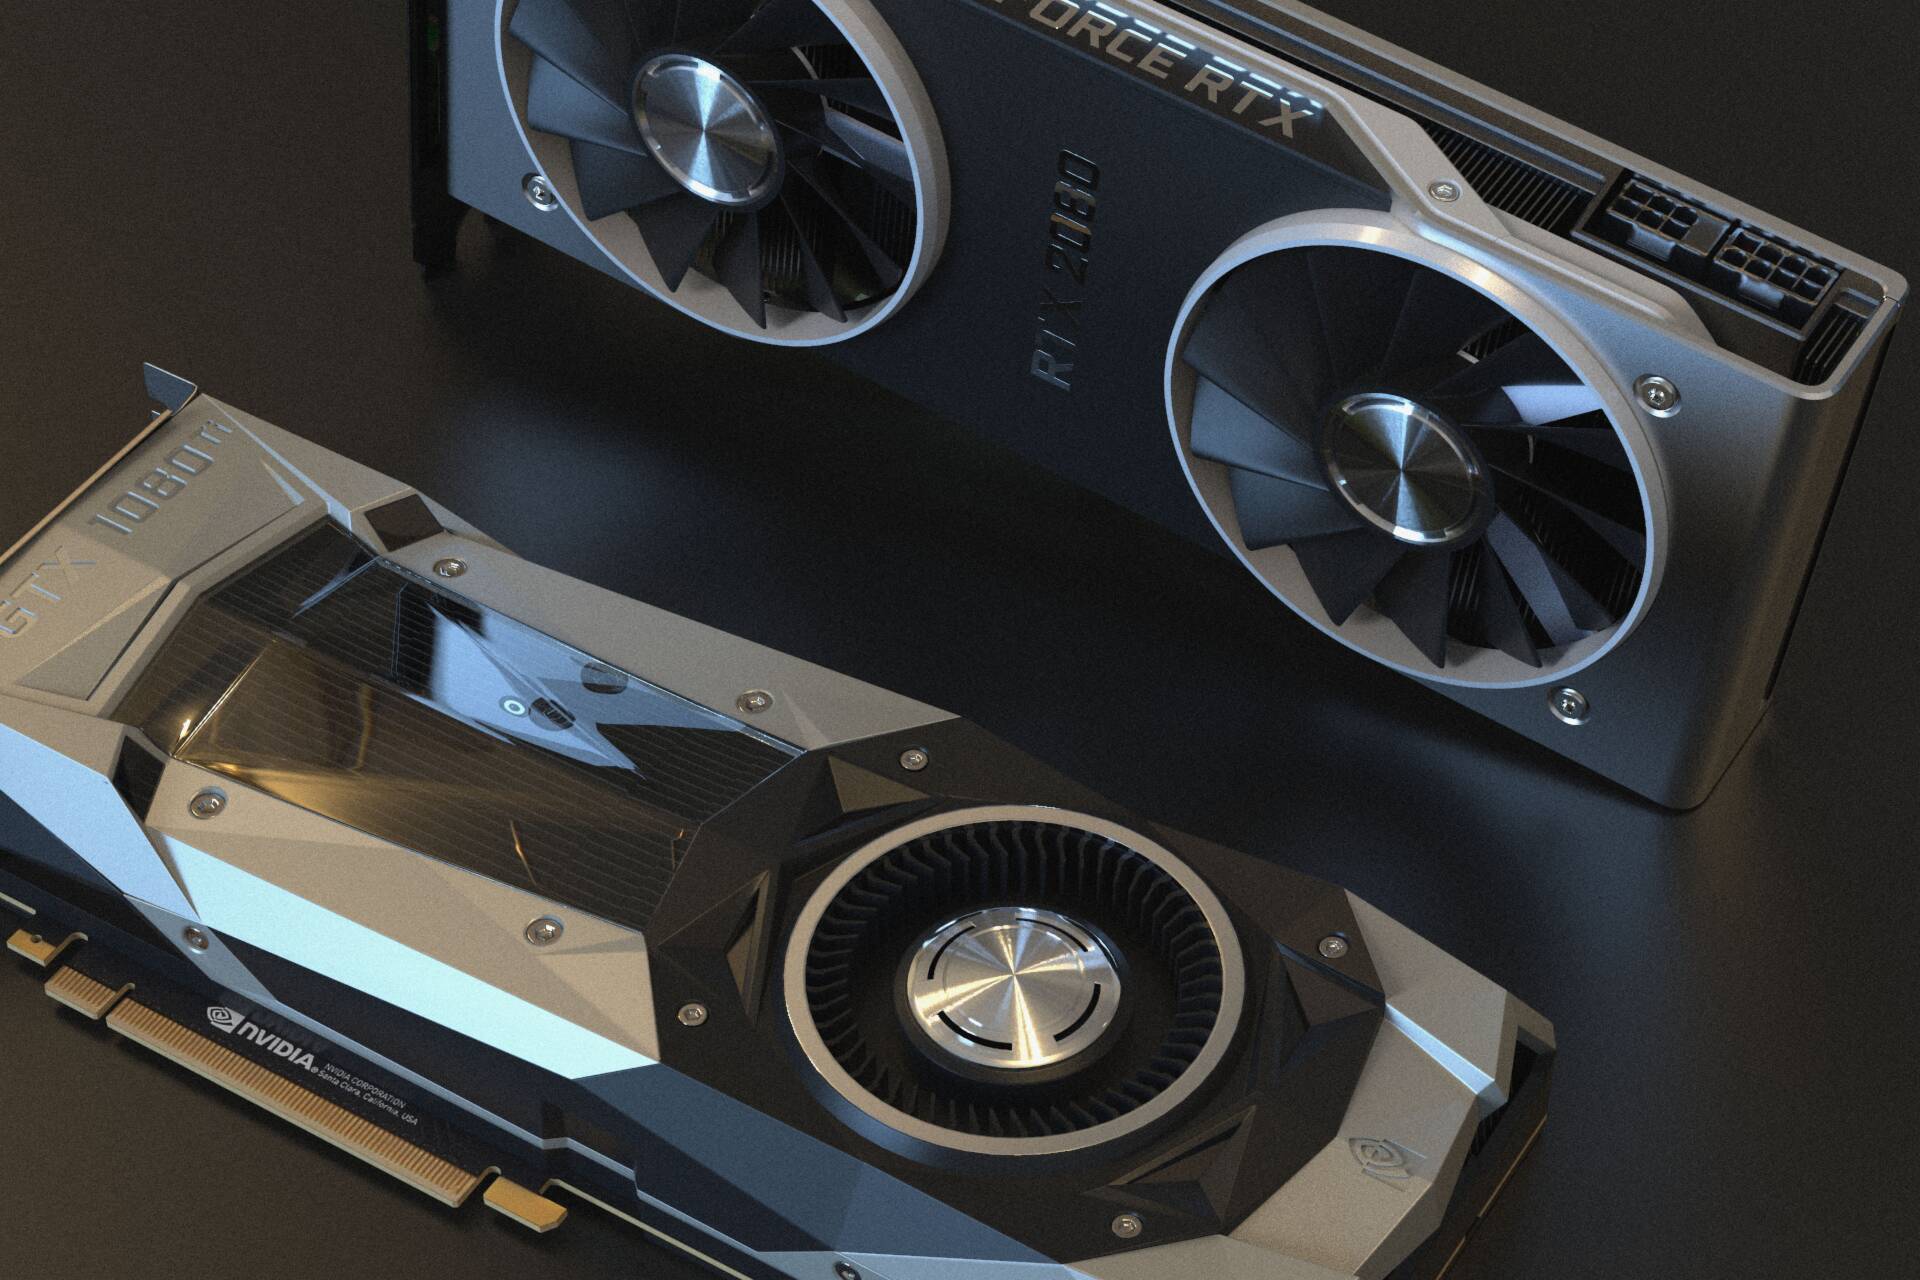
It makes it feasible to distribute every pixel you see on the screen when you’re operating the Windows 10 desktop, managing an app, playing a game, etc. Normally, devices have a graphics card from one of the three foremost manufacturers, including Intel, NVIDIA, or AMD.
Although you’re a conventional user for the most maximum part, you don’t need to trouble yourself about your device’s graphics specifications. It might be something great for users who work with graphics-intensive applications or are into games.
Typically, it may not be desirable for an application to perform correctly if you don’t have a card with a dominant graphics processing unit (GPU). Or, if you’re a constant and hardcore gamer, you may not be able to do as much gaming as you like, or you may want to manage the hardware to modify the settings accordingly to stop affecting performance.
Whatever your ideas might be, Windows 10 includes various ways to quickly find out the graphics card specs using Settings, Device Manager, System Information, Task Manager, and, of course, using the card’s control panel software.
In this Windows 10 example, we’ll walk you through the actions to check which graphics card is currently placed on your computer.
#1 How To Determine which Graphic Card Is Being Used In Windows 10 Using Settings
To discover the graphics card maker and model using the Settings app, use these steps:
- Open Settings.
- Click on System.
- Click on Display.
- Under the “Multiple displays” section, click the Advanced display settings option
- Under the “Display information” section, confirm the graphics card vendor and model
Once you perform the steps, you will understand the kind of video card installed on your device.
#2 How To Find out Graphic Card In Windows 10 Using System Information
To monitor the graphics card on Windows 10 with System Information, use these measures:
- Open Start.
- Search for System Information and click the top result to open the tool.
- Expand the Components branch.
- Click on Display.
- Under the “Adapter Description” field, determine the graphics card installed on your device.
Once you finish the steps, you’ll identify the graphics card maker and model and driver information, and more.
#3 How To Check Graphic Card In Windows 10 Using Task Manager
To estimate out the graphics card available on Windows 10 with Task Manager, use these steps:
- Open Start.
- Search for Task Manager and select the top result to open the tool.
- Quick tip: You can also use the Ctrl + Shift + Esc keyboard shortcut to open Task Manager.
- Click the Performance tab.
- Click on GPU.
- Confirm the brand and model of the graphics card on the top-right corner.
Once you perform the steps, the Task Manager will display the manufacturer name. The model, a dedicated amount of memory, physical location in the motherboard, and popular utilization details will appear.
Conclusion
While your computer’s CPU and RAM are also necessary, the GPU is usually the most demanding component to play games on the PC. If you don’t have an efficacious enough GPU, you can’t play more modern PC games—or you may have to play them with more moderate graphical settings. Some machines have low-power “onboard” or “integrated” graphics. While others have powerful “dedicated” or “discrete” graphics cards (sometimes called video cards.)
So above all, how to check graphic card in Windows 10 and details related to it is not a big issue! You just need to know the nits and grits of your system.
Read more: How to Find MAC Address on Windows 10?